How to build an adobe earthen floor with Sigi Koko (Part 2)


In Part 2 of how to build an adobe earthen floor, Sigi Koko of Down to Earth Design tackles the all important base layer.
Catch up with the first four stages of how to build an adobe earthen floor in Part 1 here.
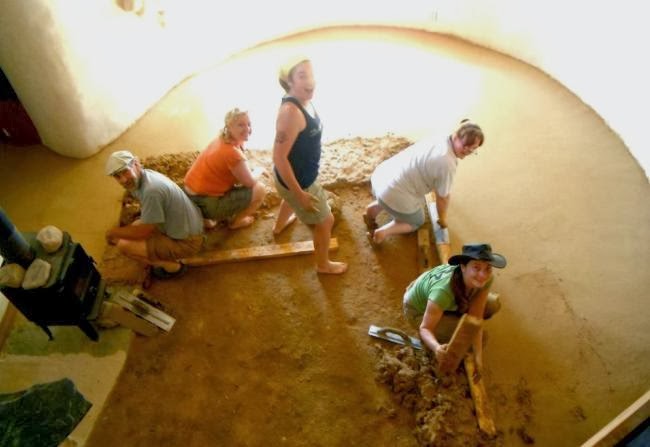
5. The base layer
I do a 2-layer adobe floor, mostly because this allows me to pour the thick base layer before the exterior walls are completely closed in. That extra air-flow speeds up drying time (and eliminates a highly humid interior later in construction). I use the same proportions I would for cob, which is generally 15 to 25% total clay plus 75-85% manufactured sand.
The difference is that I add lots more water. With cob, the wetter your mix, the more your cob wants to splooge on your walls, so it prevents you from building higher until the material dries. However, with a floor, you want to be able to pour it, like a really thick liquid. (I use about the consistency of chocolate pudding.) If I am using clay soil from the site, I sift it pretty large – through a 1/2″ screen is fine. To this mix, you want to add long fibre, and lots of it. The fibre knits the floor together and helps prevent cracking in the clay. I use straw, since it is abundant in my region.
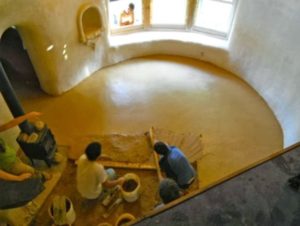
The process for laying this layer is pretty simple.
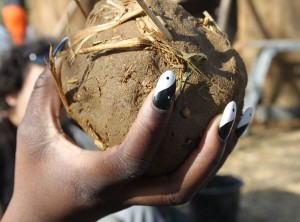
- Make a batch of your mix
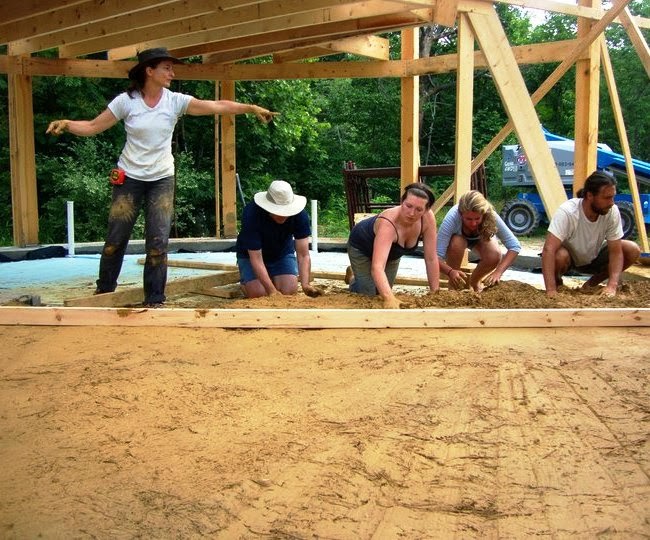
- Place the mix at the farthest corner of your floor, where you are going to begin
- Make sure you have height reference points in place (such as a perimeter beam or braced ledger boards)
- Roughly pack the mixture into place, being sure to push into any corners or voids (you can literally throw the adobe into the corners to be sure you get good fill); make sure your material is filled a bit higher than you want your finished layer to end up
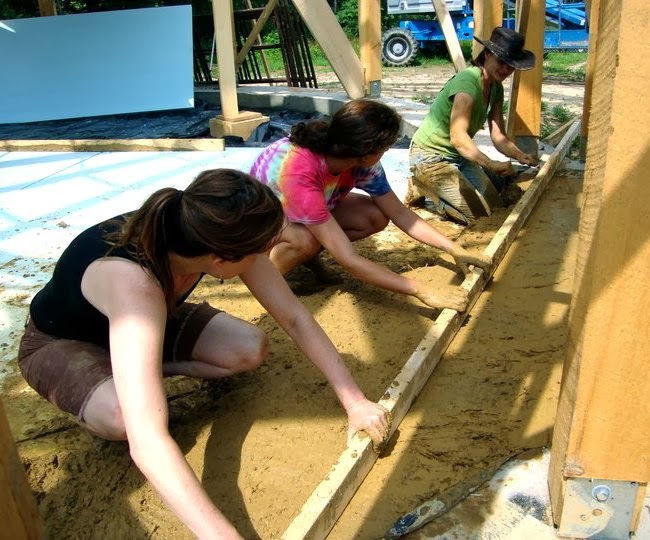
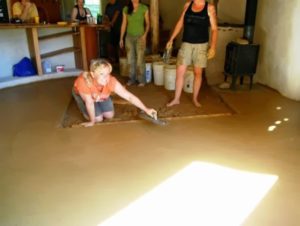
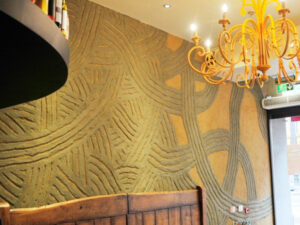
Credit: Sigi Koko - Level the floor with a long, straight 2×4 by holding each end of the board on your ledgers (so you know your height) and then shimmy the board back-and-forth while pulling slowly toward you (the longer your levelling board, the more hands on deck you need to shimmy it); as material builds up in front of your board, it makes it more difficult to move the 2×4, so simply stop, scrape the excess out of your way, and carry on
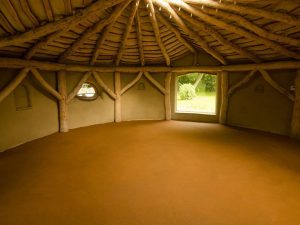
- Then let the floor dry completely (and don’t let it freeze until it is 100% dry)
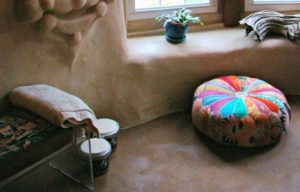
Note that it is perfectly normal to get some sprouting in your floor as it dries. Do not be alarmed if this happens! It’s just seeds from your straw confusing your floor for a garden. As soon as the floor dries, the sprouts will die, leaving behind some additional fibre reinforcing from their root structure.
Another option for this base layer is to make adobe bricks. You are using the same exact mixture but placing it in forms and then letting the adobe dry out in the sun. The benefit here is that you can carry on with construction, without having to wait for a thick, wet floor to dry so you can walk around unimpeded. Once your bricks are dry, you lay them like patio pavers in a layer of sand, tamping them to level as you go.
In Part 3 coming soon, we’ll start to smooth things out with the levelling layer.
Find the original post here on Sigi Koko’s Build Naturally blog.
 About the author
Sigi Koko is the principal designer at Down to Earth Design, which she founded in 1998 to help her clients manifest their dreams of living in a natural, healthy home. She also teaches natural building workshops that empower her clients to contribute creatively during the construction of their own home. You can find out more about her work on her website and blog.
The views expressed in our blog are those of the author and not necessarily lowimpact.org's
2 Comments
-
1Brice64 October 15th, 2020
Hi All,
In the article for the base layer (between 10 and 15cm) it is recommanded to sift the soil through around 1cm screen.
For the “classic concrete” (with cement) the granulometry is approx 0/20mm.
Moreover I remember (but maybe I am wrong) that it is nice to not exceed a maximum diameter gravel around the half of the thickness of the floor or the plaster so in the case of the base layer approx 5cm.
Is there any reason to sift littler for an earthen floor please ?
Best regards and thank for this great article !
-
2Sigi Koko October 17th, 2020
The reasons for sifting you clay soil are:
1) ease of mixing (smaller chunks are easier to dampen and integrate)
2) if you mix by foot-power (ie, not a piece of equipment), the sifting saves your feet from the largest rocks
3) to reduce average aggregate size.
If you want to include larger aggregate, you can (up to 5/8 the depth of your floor layer). But it is not essential, as the straw creates an integrated network of fiber to ensure the floor is superbly strong.
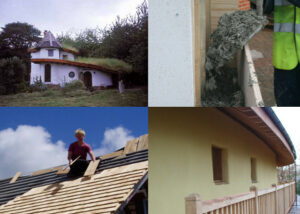
 A south-facing, rammed earth, straw-bale-insulated house doesn’t need heating; why aren’t all new houses built this way?
 How to build a cob oven in your garden with Sigi Koko – Part 1
 How to build an adobe earthen floor with Sigi Koko (Part 1)
 How to build an adobe earthen floor with Sigi Koko (Part 3)
 How to build an adobe earthen floor with Sigi Koko (Part 4)
 Clay & earth plasters
 Cob building
 Earthen floors
 Low-impact building


