Low-impact & the city 6: how we got ourselves a living willow ‘fedge’ (half-fence, half-hedge)


We’ve wanted a living willow ‘fedge’ for a while. We have a firepit and a couple of compost ‘daleks’ at the end of the garden, and we wanted to cordon this area off, and hide the compost bins. A fedge is a cross between a fence and a hedge, and it’s alive. See here for more on living willow structures.

It has several benefits over fence panels:
- we can build it any shape we want, with arches, holes, curves etc.
- it’s alive, so it provides habitats for little critters, and takes carbon from the air and gives off oxygen
- it needs to be pruned, and these can be added to the compost bins to enrich the soil
- it’s prettier than a fence – especially in spring and summer when it has leaves
- it doesn’t need any toxic preservatives
- it won’t rot and need replacing – so if you don’t mind being able to see through your fence for the first few winters, fedges could actually replace fence panels
- the shoots can be woven into the fedge, to make it thicker and therefore more of a visual barrier (shoots will need to be pruned at the top, if you don’t want your fedge to turn into trees)
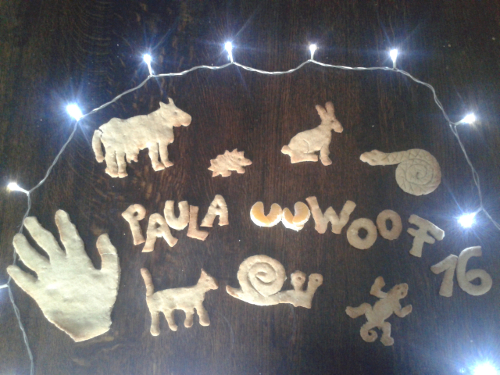
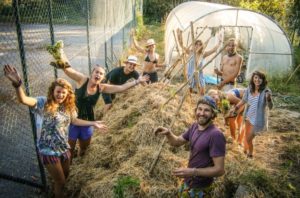
So we were on a yurt holiday at an organic farm in Wales, when we met Paula, who was WWOOFing there. She said that she wanted to spend a week or two in London before going home to Germany, so we invited her to stay. We said we’d find some WWOOF-like work for her to do – and a living willow fedge it was. She was quite excited.
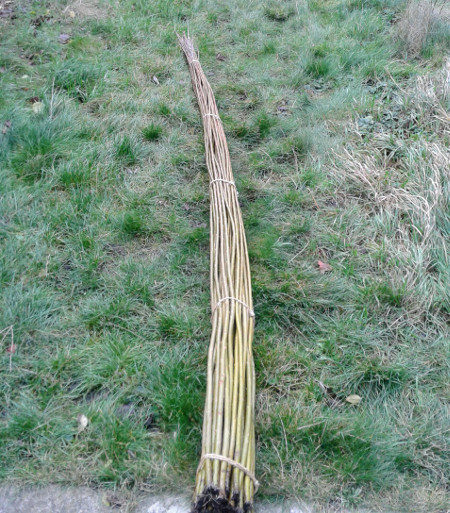
Search online for willow rods. Ours were £68 (no VAT) for 50 x 10ft (3m) rods, with free delivery.
Over to Paula for how she did it (NB: we’ll blog again in summer so that you can see the fedge with leaves):
—————————————————————————————-
Last week I was given the task of constructing a fedge. The word “fedge” is a combination of two words – fence and hedge. Willow is an amazing tree which is easily available and rods without any roots can be planted straight into the ground. To plant the willow between December and March is essential because the plant is resting over the winter. Once planted it will develop a root system and the next spring your fedge will grow new shoots. Over the years you will be able to enjoy observing a thriving fedge that offers a wildlife habitat and is easy and interesting to maintain.
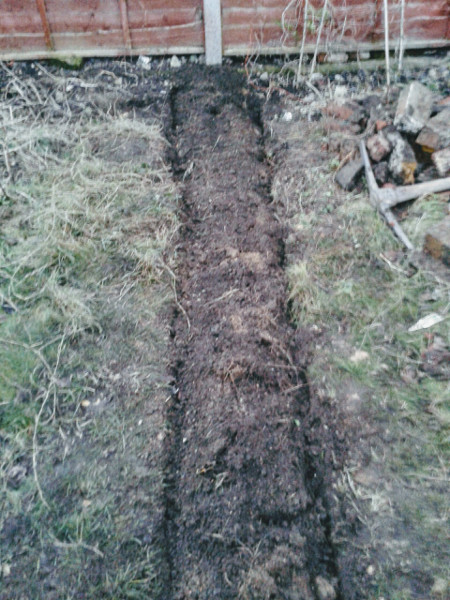
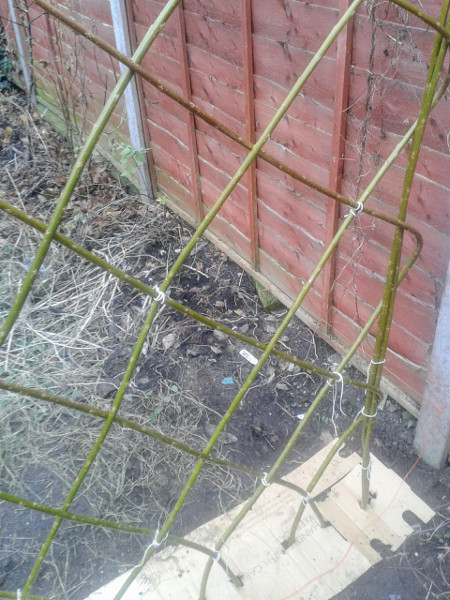
How did I start building my fedge? First of all I had to fertilize the soil so I dug a trench about 40cm deep and removed bricks and stones I found. I mixed one-year-old compost to the soil (from the compost bins, not bought) to the soil and mixed it all in to provide nutrients for the newly planted rods. Because the willow rods need to be planted into a sturdy ground I compressed the fertilized soil by trampling on it.
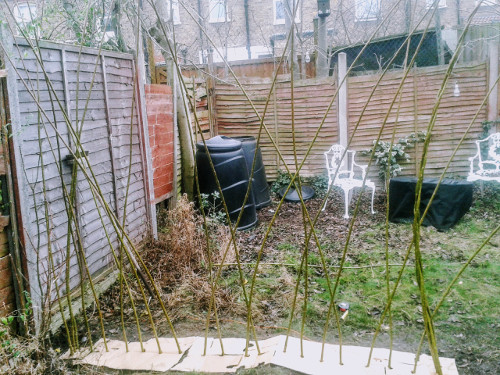
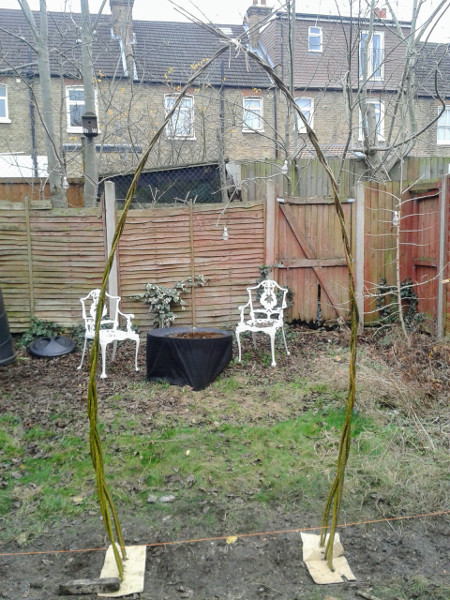
Before planting, I had to shorten the 10 foot long willow rods at the bottom end. I cut off about 6cm to avoid misgrowth due to damaged ends. Then I started constructing the archway which was going to allow people to walk through the fedge as it was constructed to separate the garden into two sections. I used an old broom stick to make a 30cm deep hole where I was going to plant the rods and to avoid weed growth I used old cardboard to cover the immediate surface around the newly planted rod.

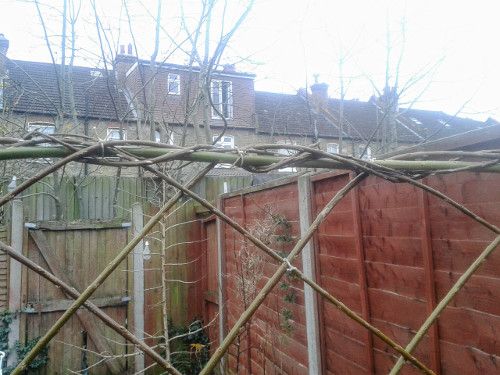
I cut a cross through the card board, poked the willow roads through it and I compressed the ground surrounding the rod by using a brick and my feet. To avoid a very narrow top of the archway I dug a slightly slanted hole so the top became a nicely curved arc. I weaved / plaited each side of the archway using six paired rods instead of only three to increase the width and stability. Whenever you have to increase the flexibility of the willow rub the rod with your palms. That loosens and stretches the fibres due to the heat produced. You can additionally carefully bend it towards the direction you wanted it to move to to reduce the possibility of a break. The two separate woven willow plaits met at the top where I weaved them together – each pair of rods following another pair.
For the woven fedge on each side of the archway I applied the same technique of planting the rods. The only difference – I dug a straight hole every 12cm and used cardboard – again to stop weeds from spreading and endangering the growth of the willow rods. On the far end of the fedge I constructed two woven posts sticking up straight out of the ground.
After I had planted the rods, I started weaving. Now, there are several patterns for weaving a willow fence. I chose a relatively easy one. You basically cross over two rods next to each other and fix the first crossover with string (elastic is ideal, but I used ordinary string – it won’t hinder the growth of the willow, because it will rot, or you can cut it after the fedge is established. Then you let the rod lean towards its set direction and continuously cross over the rods meeting each other – crossing over and under alternately.
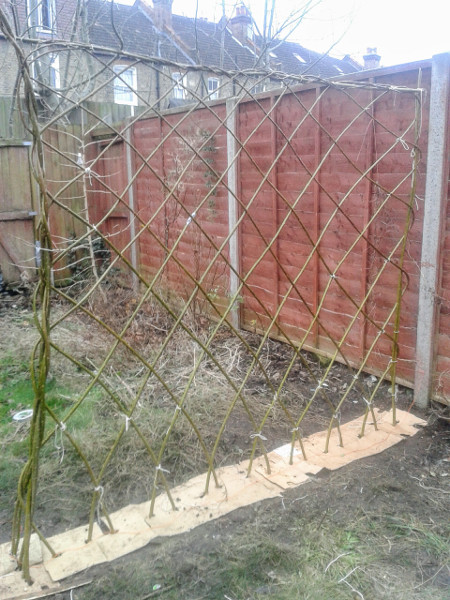
When the rod reaches the end of the fedge – e.g. the archway or the plaited rod post at the other end – you have to twist it around the pole and integrate it again into the weaving pattern. Now this can be quite tricky because the rod has to be made very flexible not to break. I continuously rubbed the spot of the rod where I was twisting it around the pole to stretch the fibre. Once I had reached the desired height I used a willow rod which I horizontally stuck through the woven pole and the archway. Then I twisted the fine end bits of the rods around the horizontal rod and fixed it with string where needed. Any unwanted ends were cut off and after three days of work I had finished a beautiful fedge!
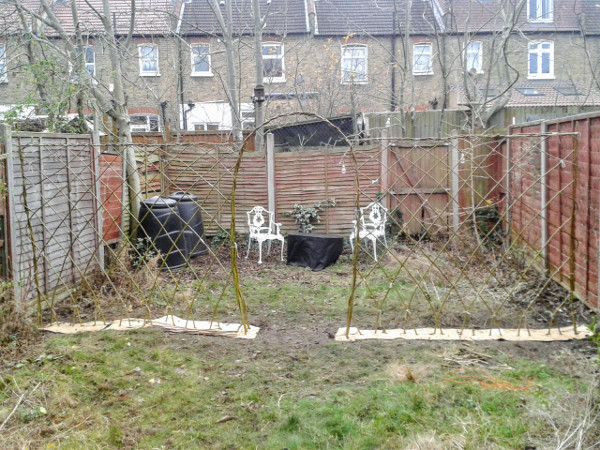
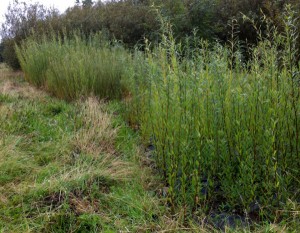
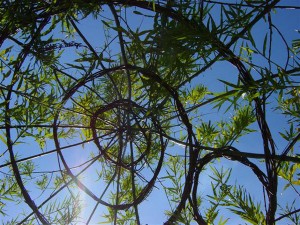
NB: Here’s the fedge in September 2020:
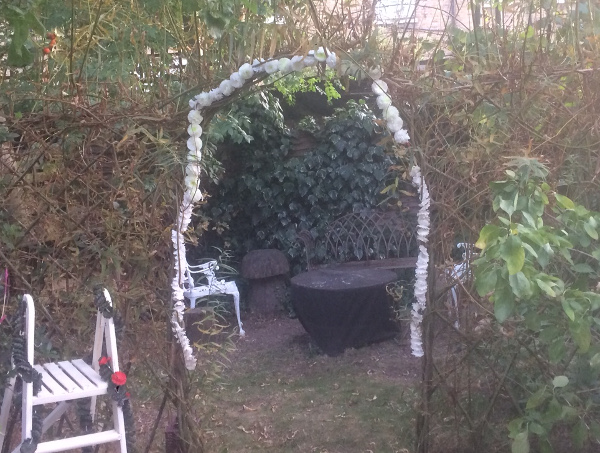
The leaves are less dense and browner than previous years because there were such long dry spells. But it might also be because we allowed the tops to grow (we’ll cut them later), to create a little enclosed glade effect. The lower leaves might have grown stronger if we’d kept the top trimmed. It’s usually a green wall.
The views expressed in our blog are those of the author and not necessarily lowimpact.org's
6 Comments
-
1Kev December 21st, 2016
That’s definitely an improvement. You need some new panels and gate mate there rotten.
-
2Dave Darby December 21st, 2016
They’re surprisingly solid, but when they go, it might be fedge time again, rather than new panels.
-
3John Harrison December 22nd, 2016
Very neat piece of work which should look lovely once established and hopefully not too much work to maintain.
-
4Dave Darby December 22nd, 2016
Hopefully!
-
5Kiki September 9th, 2020
Hi, any chance of seeing what the fence looks like now. I have done a dome and a small side fence. I’m not sure what they will look like. I’m curious and impatient ?
-
6Dave Darby September 14th, 2020
Kiki – I’ve added a current pic above. Good luck!
 Low-impact & the city 1: introduction – how possible is it to live in a sustainable, non-corporate way in a city?
 Low-impact & the city 2: what are urban gardens for?
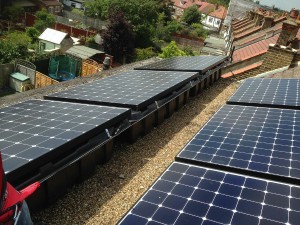 Low-impact & the city 3: our solar pv system is one year old – how’s it performed?
 Here’s why it’s a good idea to plant more willow (just not close to drains)
 Low-impact & the city 4: front gardens – concrete or plants?
 Low-impact & the city 5: if a non-techie like me can switch to open source, so can you
 Low-impact & the city 7: our experience of a local fishbox / community-supported fish scheme
 Low-impact & the city 8: how to test drive Linux from a datastick, but keep Windows for the time being
 Low-impact & the city 9: learning to use Linux
 Low-impact & the city 10: how to install Linux on your hard drive (alongside Windows)
 A guide to WWOOFing: 10 top tips from Scarlett Penn of WWOOF UK
 Fences
 Hedges
 Living willow structures
 WWOOFing


