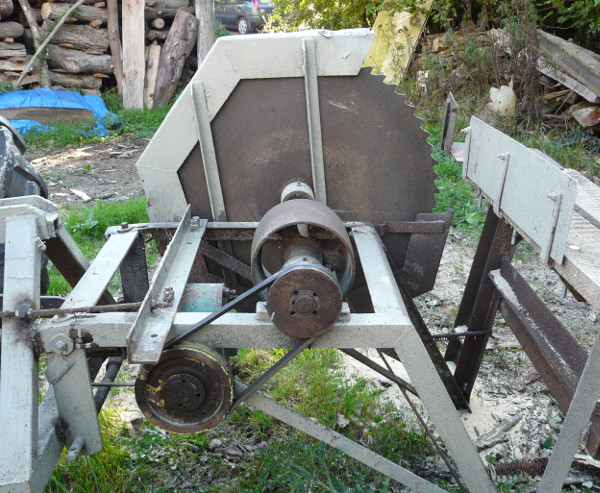
Why self-reliance means being able to fix bits of old kit – like this circular saw


Working outside and sometimes in remote situations requires a certain mindset to not only enjoy the experience, but also have an overall philosophy of self-reliance. It’s this self-reliance that in many ways is the difference between a successful and an abandoned project or enterprise. Talking this view helps to keep the overheads down, because frequently it’s the overheads that are the make-or-break fault line. Reality will always get you in the end – but the question is, whose reality?As part of this self-reliance, it’s important to be mostly comfortable with the prospect of maintaining and fixing various bits of equipment.
So on to the adventure concerning a piece of scrap that once was a Ferguson cordwood saw. This had sat under a hedge rusting away for over twenty years, until I was was given it as an add-on to a deal concerning a four wheel drive forklift with 2 wheels missing and a drum mower, saving it from the crusher.
As you can imagine the saw was in a ‘right state’, but due to the quality of the materials used in the original construction, things like the main nut holding the blade on the drive shaft came undone with only a month of soaking with diesel. The blade to many eyes would have been past it, but with the right thought patterns wondrous things are possible.. This is where a knowledge of tooth profiles and a willingness to have a go comes into its own. There’s an idea that does not seem intuitive with many people, in that if something is not working and you spend a few hours trying to rectify the problem: and it still doesn’t work, then there is nothing lost because it still doesn’t work. However fifty percent of the time the boldness of knowing there is nothing to lose, helps you to be adventurous in your investigations and frequently there is much to be learnt.
Blade materials
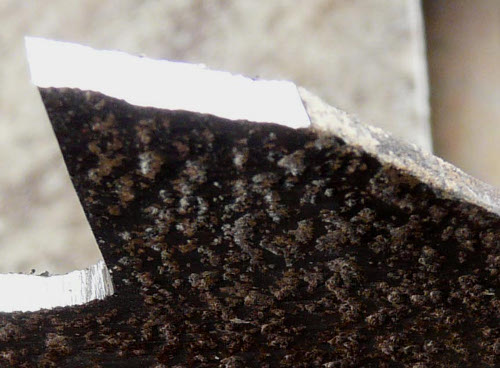
The blade on this cordwood saw was tempered steel and so the teeth can be sharpened with a file. However, many modern blades have tungsten carbide tips to the teeth. These carbide tips cannot be sharpened with a file and must be ground with the correct grade of stone. They do generally stay sharp for much longer but are brittle and easily damaged by foreign objects. So therein lies another choice that affects your overheads – take time and sharpen it yourself with a file or send it away for sharpening at a cost.
Blade profiles
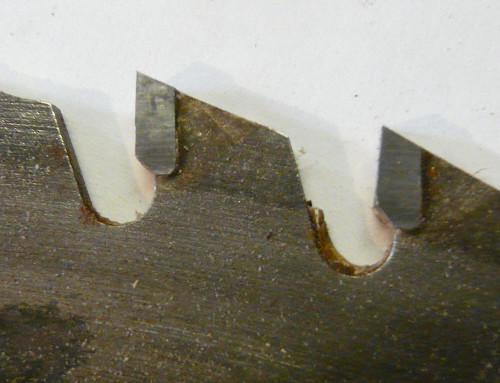
There are two extremes of tooth profile with a huge variation between these extremes. The ripping tooth designed for cutting down the grain has the tooth leaning forward in the direction of rotation, and the tooth top and leading face are filed straight across, making in effect a series of chisels. The opposite of this is the true crosscut tooth that is filed at something like forty-five degrees and the tooth is an equal sided triangle. This tooth shape is now quite rare and is only seen on handsaws. The majority of circular saws show a tooth shape in between these profiles and so are multi-purpose.
So why do I prefer a saw bench and multi purpose teeth? Well, I find it easier to cut firewood on a bench than with a chainsaw. Chainsaws are quite expensive on consumables and you are constantly picking them up and putting them down. With a bench run from a tractor, once the timber is on the bench that’s the end of the bending over, and with a multi-purpose tooth profile you can rip as well as cross cut, so no further splitting required as it is easier to let the saw do the work. I know you have the added expense of a tractor – some people will not have one, and in the woods it’s use-what-you-have, but this is the way I have set things up. I have made a modification to the original design and added an extension to the tilting log table that extends to the right hand side of the blade. This supports the logs better, especially when ripping down the cross-cut logs. Without this there is a considerable risk of the log twisting but this extension makes it perfectly safe. As with all circular saws keep you thumbs tucked in!
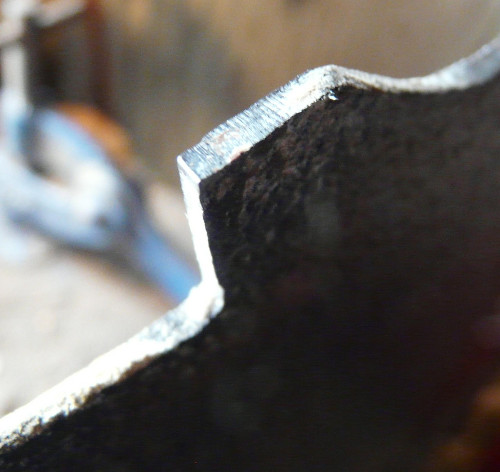
There were four basic tasks to bringing this blade back into service: re-profiling; topping; sharpening; and setting.
Re-profiling
This was needed to get all the teeth to the same shape and to make the gullets all equal depth. The gullet is the space between the teeth and this gives somewhere for the sawdust to go whilst the saw is in the wood. The space between the bottom of the gullet and the front face of the tooth is important and should not have a sharp corner as this will encourage the start of a crack. A round profile is required, for which, a 5.5 mm chainsaw file is useful. I started off with a cardboard template and a can of marking paint. Having shown up where things were wrong, using a 4-inch angle grinder I was able to get the teeth back to a decent shape.
Topping
This sounds dangerous and counter-productive, but it’s neither of those things. The idea is to get all the tops of the teeth to the same height so they’re all able to make an even contact with the wood. How do you do this? Well the saw is brought up to speed and then an abrasive block is slid along the saw bed so it just touches the teeth as they are spinning so the high teeth are marked and ground down slightly ( I use a brick). Stating the obvious here, PPE (especially eye protection) is required.
Sharpening
For this the blade needs to be removed from the saw and held rigidly in some form of clamp. Which way does the nut undo? In the direction of rotation, so that it does not come loose in use. Now is the time to get the files out. I use a 10-inch smooth file for the top and front face of the tooth, a half-round smooth file for the gullet, and a 5.5 mm chainsaw file for the gullet corner. There are, however, mill files that are smooth and flat but have half-round edges to prevent those square corners. For those who did not do metalwork at school a further bit of advice is important here. The best way to blunt a file is to pull it backwards. So you do not push and pull a file, but push and then lift off the work.
Is it sharp?
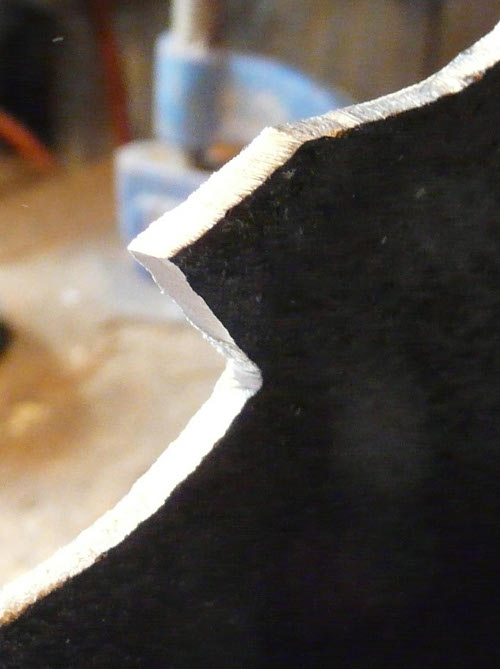
As the work progresses it is important to check to see if each tooth is sharp. This is an important aspect of sharpening, and something that I find lacking in many chainsaw users. They may know how to sharpen, but not how to check if what they are doing is having an effect. To this end there are a few basic things to keep in mind. A blunt edge will reflect the light and a sharp one will not. Light will reflect from the freshly filed flat surfaces, bit if it also reflects from an area on the cutting edge then it is not sharp. The edge must be the high point so that the tooth slopes away backwards from the edge. If this is not the case then the edge cannot make contact with the wood.
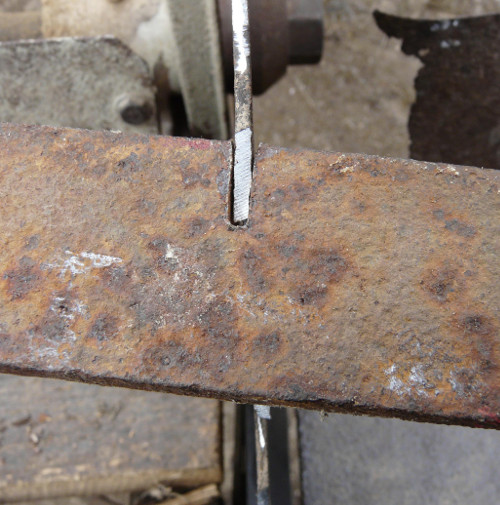
Tooth setting
With a tempered steel blade the teeth are made from the same steel as the rest of the blade, which means they are the same thickness. To prevent binding and heat caused by friction the saw cut must be wider than the main blade thickness, so the teeth need to be set. This means that the teeth are slightly bent sideways, in different directions for alternate teeth – all the way round the saw.
There is an easy way to make a tool to help with is. A piece of flat steel strip, say 50 x 6 mm, with an angle grinder cut half way through it will make a setting tool. This cut needs to be wide enough to fit over the teeth You can now simply bend the teeth slightly sideways and you have enough leverage to have good control – see photo.
I now use this saw for all our firewood, and running on red diesel helps with those overheads. I have loaded 2 videos (amongst many others) on the sharpening process on my Youtube channel (Andy Reynolds) and the best way to find them is to just type the titles into your browser. These are:
Sharpening a circular saw for cutting firewood: part one
Sharpening a Ferguson circular saw for cutting firewood: part two
Andy Reynolds: provider of open source learning, author of Heating with Wood and Timber for Building, forester and instructor, practitioner in low impact living.
This article first appeared in Small Woods magazine.
The views expressed in our blog are those of the author and not necessarily lowimpact.org's
 Timber users and growers: what is ‘timber shake’ and why does it occur?
 How to turn trees into houses, and why it’s a good idea
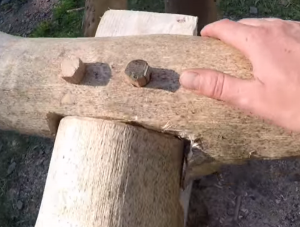
 How to make a new axe handle
 How to leave the city and regain a connection with the land
 The power of doing things ourselves using recycled materials: the Permaculture Book of DIY
 That knotty problem: how to prune trees to produce quality timber
 Farm Hack : growing innovative open-source agriculture
 Biomass boilers
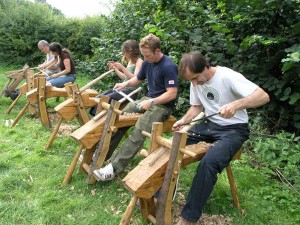 Green woodworking
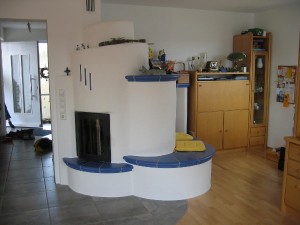 Masonry stoves / kachelofens
 Round wood timber framing
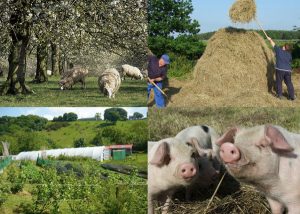 Smallholding
 Timber building
 Tree / woodland management
 Wood stoves
 Woodworking


